Ghostty on Ubuntu: First Impressions and How to Install
Ghostty came out today! I’ve been following the development on Mitchell Hashimoto’s Blog for a while, and I was excited to give the terminal a try.
First Impressions
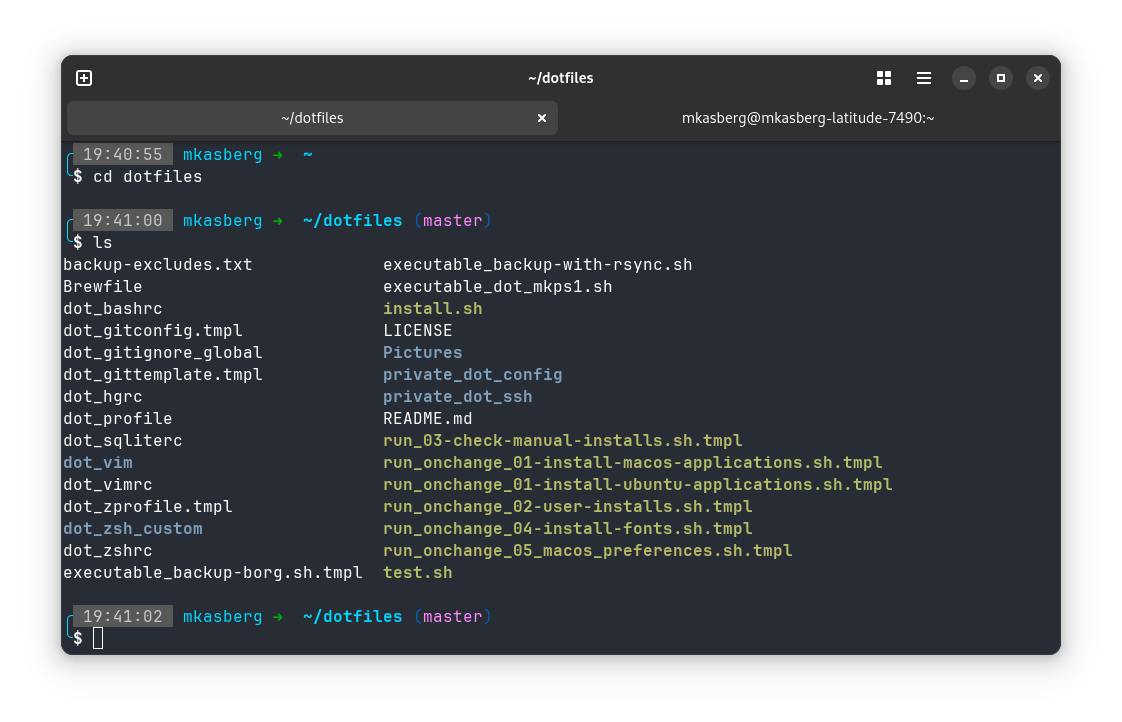
Ghostty is great! My first impression was that it looked exactly like Gnome Terminal, with a slightly different color scheme. That’s not a criticism, that’s actually high praise! Mitchell has written on his blog about the importance of Ghostty being native while also being cross-platform. That is to say, although it works on both macOS and Linux, it uses native windows, menu bars, and tabs. After trying Ghostty for a little bit, I have to say I agree, and he nailed it!

I was really pleased to see that everything just worked out of the box (and I know Mitchell’s put in a lot of effort here too). I’ve been using Gnome Terminal as my daily driver on Ubuntu for more than ten years, and I knew within a few minutes of trying Ghostty that I’d be using Ghostty as my daily driver going forward. I’ve briefly tried other terminals before, like Kitty or Alacritty, but I always came back to Gnome Terminal – specifically because I don’t like the non-native look and feel of others. I make heavy use of native tabs, so the non-native tabs (or complete lack of tabs) and non-native UI of other Terminals kept me using the default Gnome Terminal, despite knowing the others were faster. With Ghostty, I can have my cake and eat it too!
Ghostty is simple (it really does look very similar to Gnome Terminal), but it’s fast and has advanced configuration if you need it. I haven’t needed it yet, though I plan to experiment with different themes in the near future. I’m finishing this blog post in vim in Ghostty, and so far, Ghostty has been everything I hoped it would be. I highly recommend it! Mitchell, congrats on a great Terminal and a great launch! I appreciate all your work (and the work of the rest of the community)!
How to Install Ghostty on Ubuntu
There’s no official (or unofficial) Ubuntu package yet, so the only way to get Ghostty running on Ubuntu right now is to build it yourself. Fortunately, this isn’t too hard! The build instructions are documented in the Ghostty docs, but I’ll lay out some step-by-step instructions for Ubuntu here.
- You’ll need Zig 0.13. There are several ways to install this; I installed it
by downloading a binary release. Download the
.tar.xzfile for your architecture from the Zig Downloads page. You probably want the x86_64 version. Make sure you get version 0.13 for Linux. - Extract the
.tar.xzfile to your/optdirectory. (Any directory would be fine,/optis conventional for stuff like this and is what I chose.)sudo tar -xf zig-linux-x86_64-0.13.0.tar.xz -C /opt - Make sure you have the required dependencies to compile Ghostty, as
documented in the Ghostty docs.
sudo apt install libgtk-4-dev libadwaita-1-dev git - Download Ghostty. The easiest way is to just clone the git repo. Then you can
check out a specific tag, or just build main.
git clone https://github.com/ghostty-org/ghostty.git cd ghostty git checkout v1.0.0 - Build Ghostty. Again, following the docs.
/opt/zig-linux-x86_64-0.13.0/zig build -p $HOME/.local -Doptimize=ReleaseFast - Run
update-desktop-databaseto refresh the application list so you get the Ghostty icon in your launcher. (If that command fails, try it withsudo.)
That’s it! By default, .local/bin should be in your $PATH, so the ghostty
command should now be available. The Ghostty build process should also have
installed a launcher file to $HOME/.local/share/applications, so you should be
able to find Ghostty in your normal application launcher menu without any extra
effort!
For the time being, I think this is the easiest way to install Ghostty on Ubuntu. It will take some time for Ghostty to make it into the official Debian or Ubuntu repositories, but I hope to see some other installation options like Flatpak, Snap, Linux binaries, or Homebrew (on Linux) become available in the coming weeks.
I’m looking forward to using Ghostty as my default shell, and I hope this helps you get it set up on your own machine!
About the Author

👋 Hi, I'm Mike! I'm a husband, I'm a father, and I'm a staff software engineer at Strava. I use Ubuntu Linux daily at work and at home. And I enjoy writing about Linux, open source, programming, 3D printing, tech, and other random topics. I'd love to have you follow me on X or LinkedIn to show your support and see when I write new content!
I run this blog in my spare time. There's no need to pay to access any of the content on this site, but if you find my content useful and would like to show your support, buying me a coffee is a small gesture to let me know what you like and encourage me to write more great content!
You can also support me by visiting LinuxLaptopPrices.com, a website I run as a side project.
Related Posts
- My First Program 04 Dec 2017
- How To Set Up a Ruby Dev Environment on Ubuntu Linux 27 Sep 2020
- Docks and Ubuntu 09 Aug 2021